fabric performance – thermography

front LHS2 IR

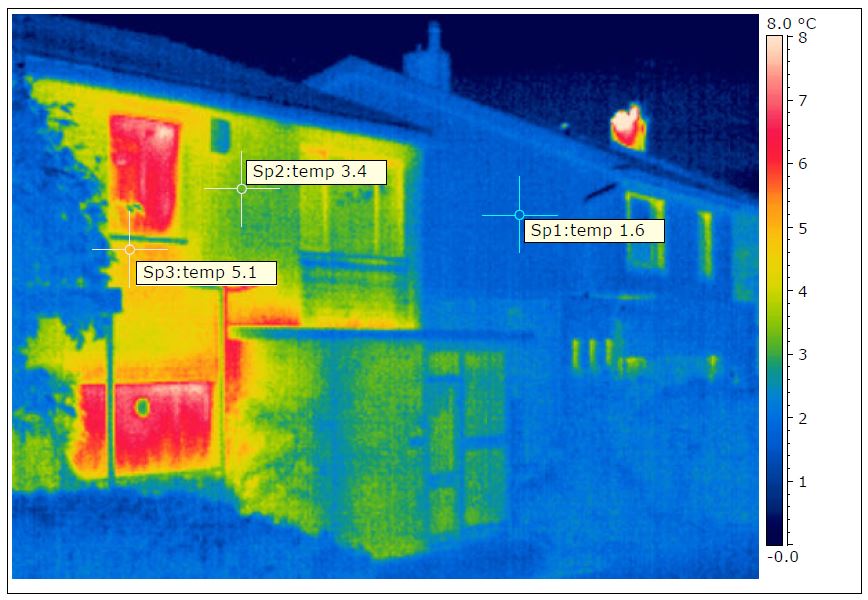
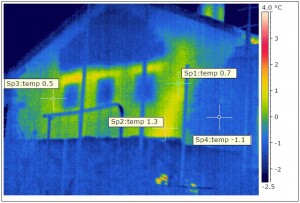
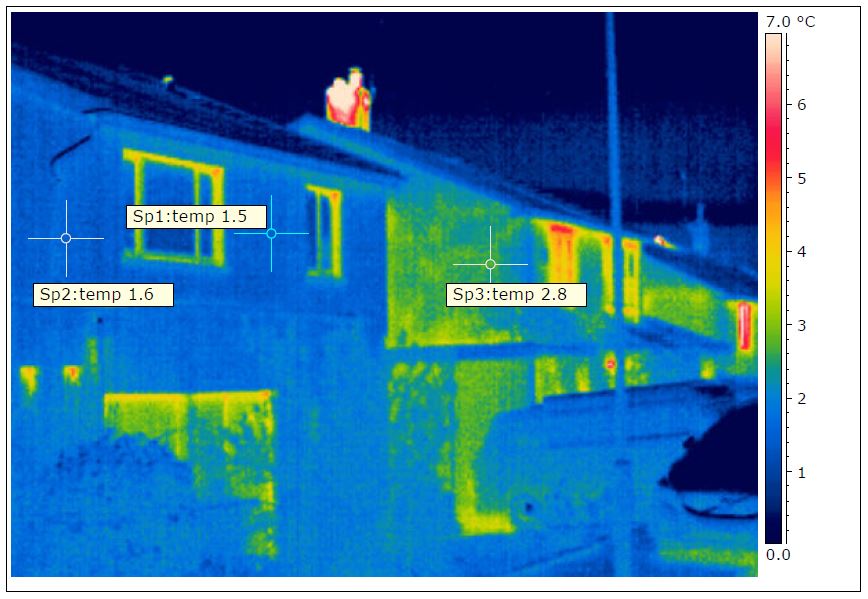
The fist thermal images of the finished house were taken very early in the morning at the end of January. The results are very encouraging and show, as expected, that the insulation measures are working well, and that we have significantly reduced the amount of thermal bridges, particularly for the concrete gutters. The image above shows our house in the foreground with our neighbours’ houses beyond. The temperatures of the outside of our house are the same as unheated surroundings: vehicles, plants, etc. Compared to neighbouring houses, not only are the surfaces cooler (less heat escaping), but the temperatures are more uniform, showing good insulation continuity.

front LHS IR

The image above was taken further up the street, with our house now in the background. Our neighbour’s house in the foreground has the same thermal properties as our house did when we moved in, i.e. no cavity wall insulation. The difference is quite striking between our properties.

rear IR

From the rear, the house appears to be performing well too. The wall insulation is continuous and the thermal bridging relating to the concrete gutters (as shown in an earlier post) have been eliminated. There is a small amount of thermal bridging around the new window frames, but this is expected given that we opted for less expensive windows that do not have thermal breaks in the core of the frame.

rear neighbour IR

By contrast, our neighbour’s house is losing more heat, as shown in the image above. The thermal bridges from the concrete gutters and the single leaf masonry panel beneath the windows are quite evident.

wemico trays

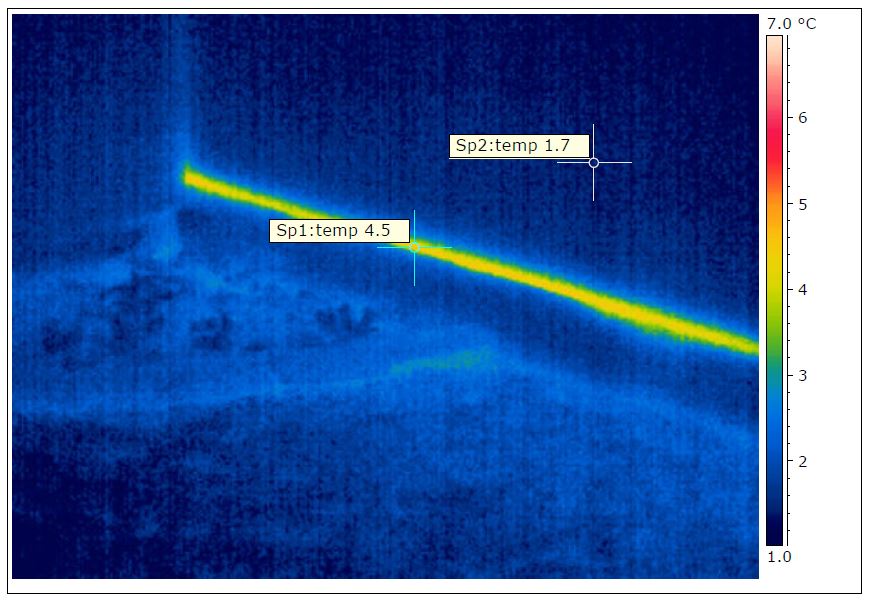
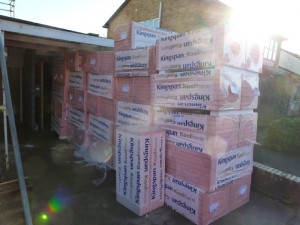
We have introduced some bridges that we hadn’t thought about. Ironically, it is from the steel trays that carry the external wall insulation panels that are conducting heat. These are fixed to the masonry (warm side of the insulation) and some of this heat is clearly coming through. Perhaps plastic trays would have been better. In the grand scheme of things, this is relatively minor stuff.

backblog #1: loft insulation

I have been neglecting this blog and now have a backlog of stuff to update. So, resuming with the loft insulation (and ventilation ducts in the loft)…

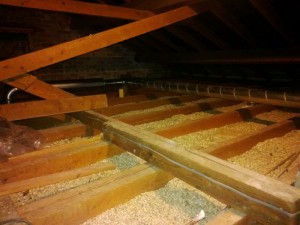
Skip full of itchy stuff empty loft

The old glass fibre insulation was stripped out of the loft (lovely job), leaving only the original (pathetically thin) layer of granulated vermiculite insulation. I couldn’t see the point of removing this, so it was left in place. Once cleared and cleaned, the loft was ready for the MVHR duct installation.

Supply and extract risers boxings

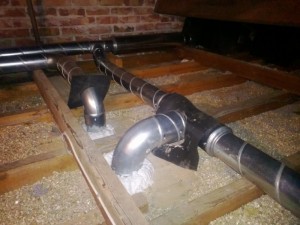
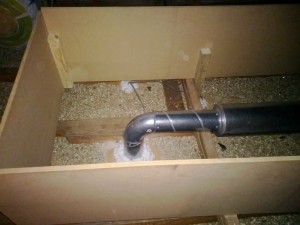
The Lindab SAFE ducting is installed approx 200mm above the ceiling (100mm joist + 100mm tie beam). This puts the top of the 100mm ducts approximately at the top of the proposed insulation layer. As these ducts form part of the insulated envelope, I feel it is necessary to create MDF boxings, or shutters around the ducting to allow the insulation to envelop the ducts completely: 300mm to the sides and above, giving some 600mm of insulation to the loft in these areas. The photo above right shows an example of the boxings prior to the insulation.

Warmcel stack  blowing machine

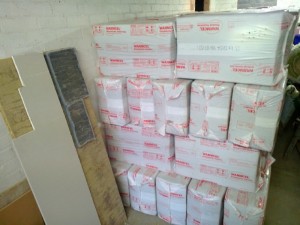
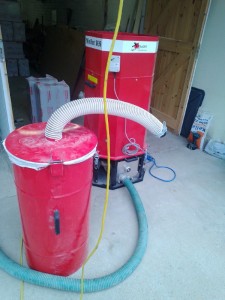
We have used Warmcel for our loft insulation. This is 100% cellulose (recycled newspaper). A total of 85 bags have been installed using a blowing machine.

Warmcel installation

Finished insulation

The photo above shows the finished insulation, in and around the ventilation duct boxings. The boxings account for just over a third of the loft floor area and therefore the area-weighted U-value for the loft is now 0.10W/m².K, compared to 0.13W/m².K if the entire loft insulation was just 300mm deep.

weeks 35 and 36: flooring

LGF flooring

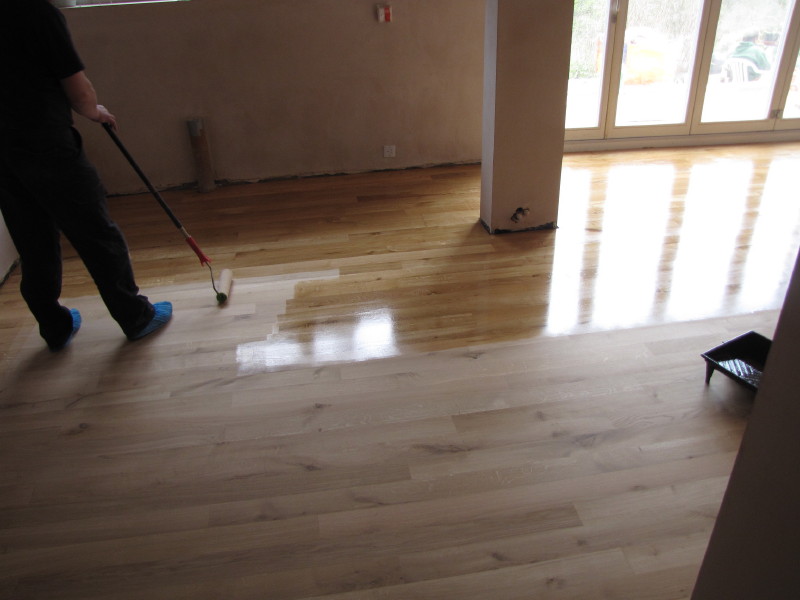
The oak floor has now been installed on the lower ground floor. We use a local sanding specialist to both sand and oil the floor. At time of writing this post, the floor has only one coat of oil, but it looks really good. In the past I have hired floor sanders and got on with it myself, and was a bit sceptical on the advice that it should be done by a ‘professional’, but I was wrong. Knowing that the sanding company was doing the lower ground floor, I thought I would get them to do the hall on the ground floor too – a mixture of old flooring and new. The results were were astounding!

hall floor installation Hall sanding

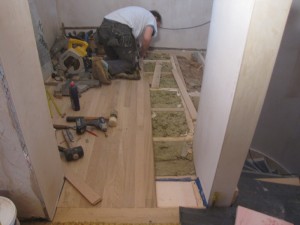
First the hall floor was installed by the carpenters. We had the existing oak floor (made in early 1960s) re-profiled so that the extension in the hall matched. We were never sure how the old and new were going to blend in – until it was sanded…

old and new floor

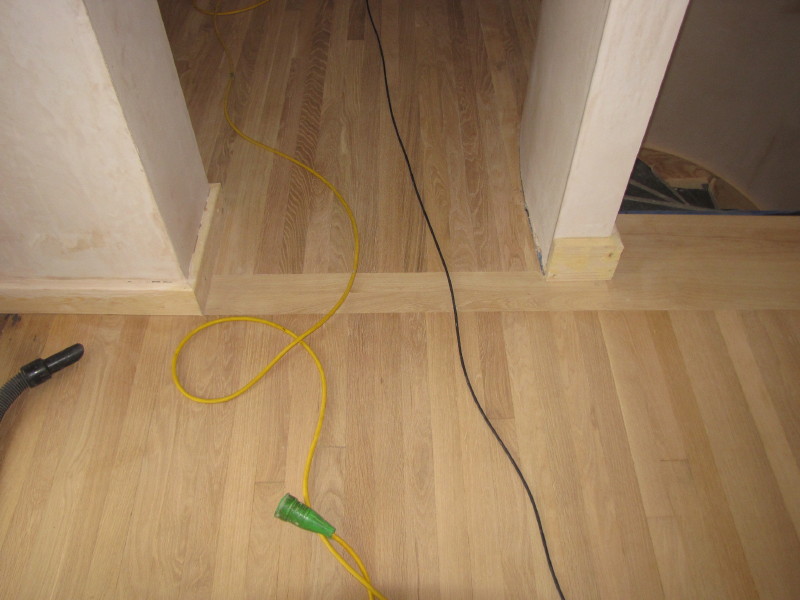
The top half of the photo is the new floor, the bottom part of the photo is the existing floor – I thought it would look different, a little darker, but it is pretty much identical. It needs to be oiled next – that will be the acid test, I guess. I think I might get these guys to do the other floor boards in the house!


weeks 35 and 36: barge boards

old and new

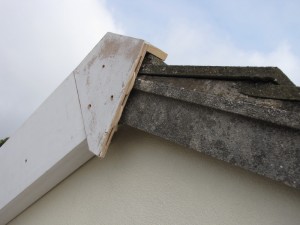
When the rendering was done, the house looked clean and new. However, as we are keeping the existing roof, the original concrete barge caps made it all look a little drab at roof level. We came up with a solution to encapsulate the entire edge with a timber barge board that would fix into the existing concrete roof. It seems to have done the trick. The new barge boards tie-in with the new fascias for the guttering along the eaves and all of this timber edging to the roof will be painted the same colour as the windows.

bargeboard fitting


weeks 30 to 32: plastering and rendering

External base render - front

Yes, I know I’ve taken a break from updating this blog for two or three weeks, but things have been a tad busy with work, so apologies for that.

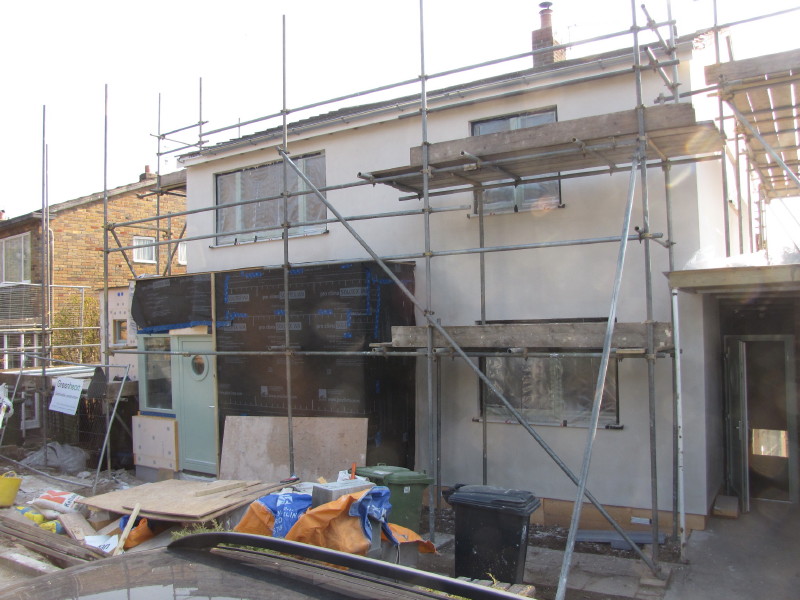
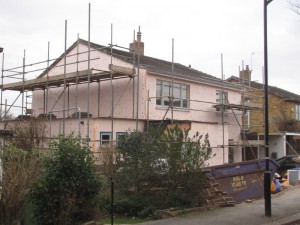
A lot has happened since the last update. Most of this has been on the internal plastering and the external rendering. Externally, the house and extension have now been rendered with two coats + mesh of Parex render base. The top coat – a through colour layer will be added next week, although the colour is only a shade different to the base layer. As we have insulation down to ground level, the render will continue below the drip profile rail, but this will be after the scaffolding has been removed. So far it looks good. The area around the front door (covered in a black wind check barrier) will be clad in sweet chestnut, which should also be added starting next week.

External base render - side

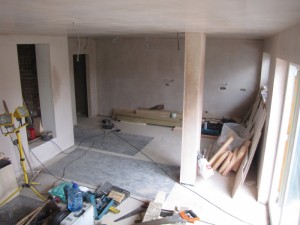
Plastering has gone really well. We have used a local plasterer, recommended by our builder, and the quality of his work and pace is quite exceptional. In the three weeks since the last blog post, he has managed to plaster the entire extension area + a bit of extra work in the existing house.

Kitchen_diner plastered Stairwell plastered

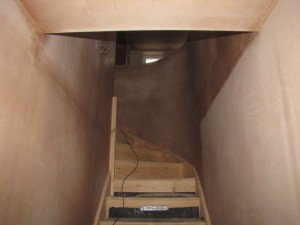
The photo above right shows the staircase now installed. This was also put in during the last three weeks and it looks great – it is a softwood stair with a curve formed for the turn at the top – the joiner has done a beautiful job, which is complemented by a curved wall, plastered to perfection.


weeks 28 and 29: more progress on external wall insulation

Fron of house EWI

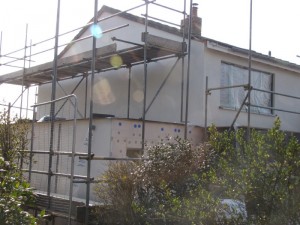
The external insulation progressed well (until we ran out) and the house is beginning to be transformed. I’m sure we’re the talk of the neighbourhood – ‘what on earth are they doing?’ Weather permitting, the rendering will start next week. and it will begin to look a bit more normal.

North Front EWI

Another week, or so and the insulation should be complete on the external – a fair bit to do on internal insulation works – particularly suspended floor and loft.

week 23: new garage roof

Garage roof stripped photo of complete roof to go here

The old garage roof covering had reached the end of its useful life sometime ago. Although not part of the thermal retrofit, we needed to replace it to allow the external wall insulation to be fitted onto the gable wall as shown below.

garage roof

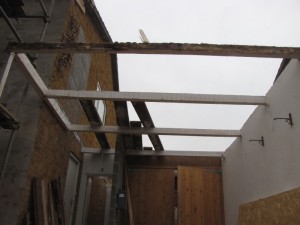
The existing corrugated sheets are being replaced with a single ply deck. However, the existing structure only has joists at 1300mm centres, whereas they should be more like 600mm centres. The guys set them selves a target of removing the old roof, reinforcing the structure (including the replacement of some rotten joists) and getting the ply deck down in one day. Seems a tall order, but after a long, hard day, they manage it.

The new roof has the same Cefil membrane as our extension roof on the other side of the house (see earlier post). This is applied the following day and we’re back in the dry. Now, once we protect our nice new roof, we can get the scaffolding back so that we can render and insulate the gable wall above.

week 22: early results on cavity wall insulation

December (Pre- Cavity Wall Insulation)  January (Post Cavity Wall Insulation)

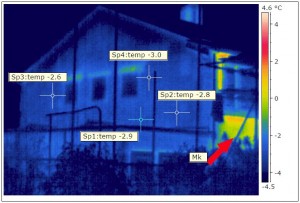
At the beginning of December, not long before the cavity wall insulation was injected, I took the opportunity to take some thermal images of the house. As the image above left shows, we had a significant amount of heat loss through the cavity. Warm air (shown yellow/ green) was entering the cavity and escaping at high level.

I carried out another survey earlier this week (cavity wall insulation has now been injected – see earlier post). The image above right shows the same north gable wall. There are no yellow/green areas at all, which suggests that the cavity fill has significantly reduced the air movement within the cavity. This is the primary purpose for the cavity fill, otherwise the external wall insulation (to be fitted shortly) will be less effective.

The area highlighted by a red arrow indicates an area of higher heat loss at the front of the house (you may need to click on the image to enlarge it). This area is a small solid wall section and again illustrates the the effectiveness of the cavity wall insulation elsewhere. More images to analyse and post later.

One final thing for now on cavity wall… we had the opportunity to look into the cavity again as we are changing the aperture of one of the windows. The ecobead insulation again beats my expectations and has completely filled the entire cavity:

Existing kitchen window

week 18: new window installation begins

Living room window removed  Bedroom window removed

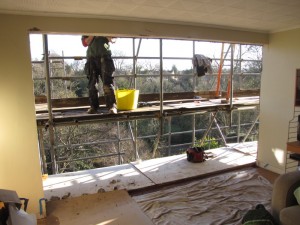
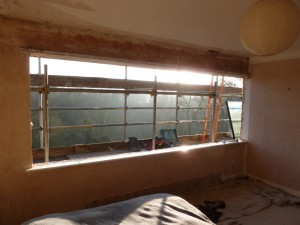
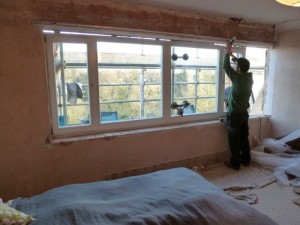
At last, the new triple-glazed windows are being fitted. The old windows are removed, temporarily exposing the house to the elements. A timber frame surround is constructed around the structural opening as we are moving the new windows forward of the existing elevation. This is to allow them to be installed within the external insulation layer, thereby reducing thermal bridges.

Bedroom window fitting  window detail

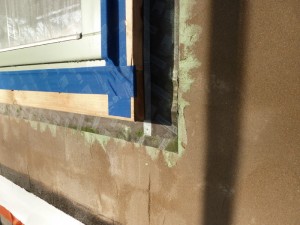
The windows are fixed into the new surrounds and then taped to form the air seal using Tescon tape. The timber surround is taped to the masonry wall using Contega EXO tape and Orcon F sealant. However, because a lot of this work has happened in between wet and cold weather, adhesion has not been optimum. We have therefore taken the additional precaution of applying a second render base coat on top of the Contega tape.