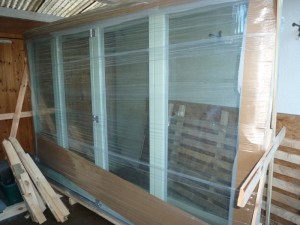
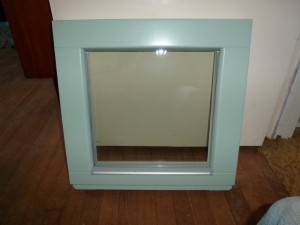
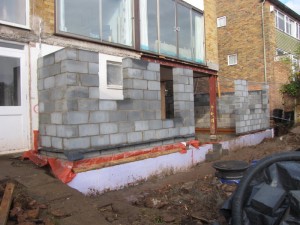
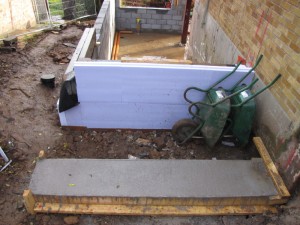
The new triple-glazed windows arrived this week. Made in Lithuania, the EcoContract windows, sourced via the Green Building Store, arrived in-tact. They are still mostly in their packaging, so have only really checked the colour match is correct. But they look good, really good. The bi-folding doors (top left photo) weighs some 400kg and we will need to dismantle this before we can move it into place – more to follow.
Monthly Archives: November 2012
week 14: intermediate floor starts
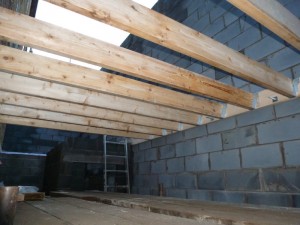
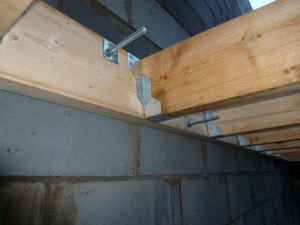
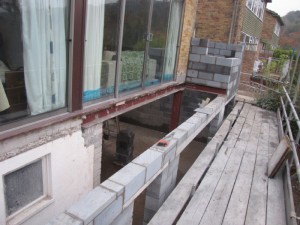
With the blockwork complete, the carpenters were able to make a start. The timber wall plate is bolted to the block using Hilti resin anchors to fix the M12 threaded rods into the blockwork. The joists are then attached to the timber plate using joist hangers. The same fixing method will happen on the existing wall. This approach helps to minimise air leakage. at intermediate floor level – often a key air leakage path.
The floor structure should be finished next week and will be temporarily boarded to give a platform from which to construct the roof.
week 14: blockwork complete
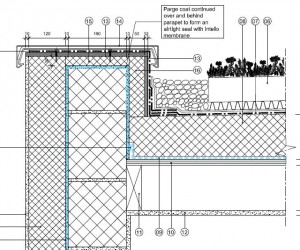
With the scaffolding up, we were able to complete the blockwork walls this week. Despite the rain, the walls have still gone up quickly, albeit there has been a bit of extra re-pointing here and there to keep on top of the rain as it has washed the mortar away! The walls run to roof parapet height and will be externally insulated with the insulation continuing across the top of the parapet as shown in the detail below.
The insulation will start shortly, but in the meantime the priority is the internal floor followed by the roof so that we can get out of this mad weather as soon as possible!
week 13: what a difference a week makes
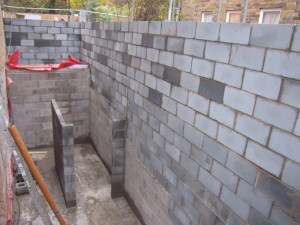
They say most the work is in the preparation, and this has been proven this week. The walls for the extension have gone up at an astonishing rate. Even greater progress would have been made if the scaffolders came back when they said they would! Even so, we’re now only approximately 6-7 block courses away from complete construction of the walls.
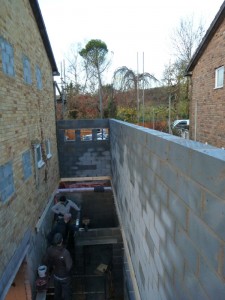
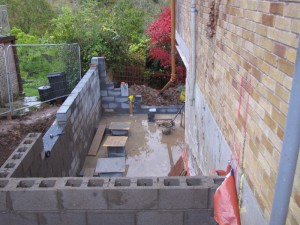
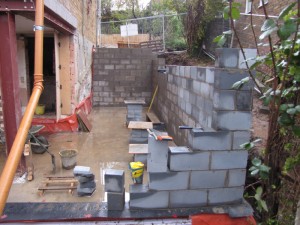
Internally, the space looks cavernous, but once the internal floor is in it will shrink again. The above photo shows the pantry being constructed, with the retaining wall behind. The internal stairs will be in the space to the left of the pantry wall.
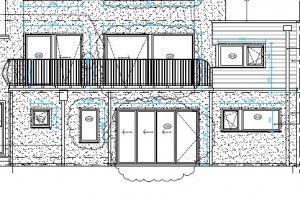
The lintels for the rear wall arrived this week and were installed the same day. Two of the four openings are large: sliding/folding doors (3.2m) and the kitchen window (2.3m). These are special lintels and need to be made to order. The rear wall masonry is now complete. The drawing extract above right shows the openings on the rear (please note: some feedback to this blog is that photos/drawings are small – you can click on any image to enlarge it).
week 13: other odd jobs
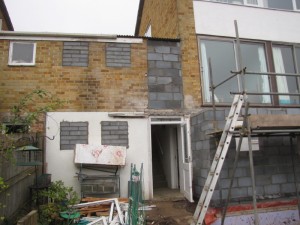
The rear windows to the garage and original dining room store have been removed in blocked up. The dining room store was outside of the thermal envelope of the house, completely uninsulated floor, roof and walls – a real cold spot. The final house will not be short of storage space, but we decided that it would be useful to have some utility storage accessed from the garage. This decision also helps with awkward thermal detailing – i.e. we don’t need to incorporate the store within our thermal envelope. That said, and having just noticed on the photo as I am posting this, I realise that we haven’t incorporated the external wall insulation between this block infil and the existing house walls. A thermal bridge to deal with – any ideas? Ruairi?
week 12: rear wall construction
The rear wall was constructed this week up to lintel level. Seeing it built, we realise there’s not much of it really, due mostly to the large folding doors that will be fitted in the dining room. So it only takes a day to build. The rest of the week has been taken up with tanking and below ground insulation (see previous post), land and surface water drainage works and preparation for the front wall.
The front wall foundations were cast on Friday – the last of the foundation works! The scaffolders arrived yesterday (Saturday) and erected the scaffolding to the side and rear of the extension. This will allow the extension walls to be built up next week.
week 12: tanking and below ground insulation
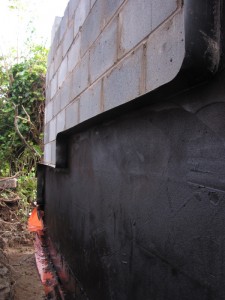
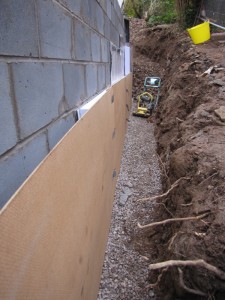
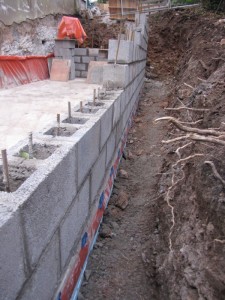
Fortunately, it’s been a good, dry week to get the tanking onto the retaining wall. The below-ground (substructure) element of wall needs to continue the waterproof and gasproof characteristic of the floor. We opt for self-adhesive Visqueen Gas Resistant Tanking Membrane. The wall was first treated with a bitumen primer (above left photo) and left to dry and the tanking membrane went on the following day. It was a bit cold, so the self-adhesive element needed a bit of help with a roofer’s torch to get it to stick to the wall, but it went on finally.
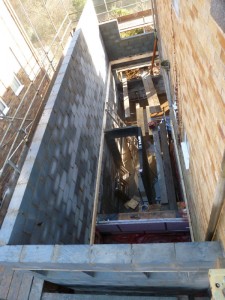
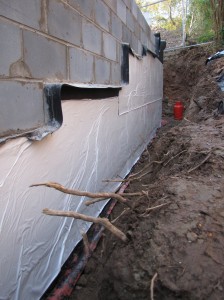
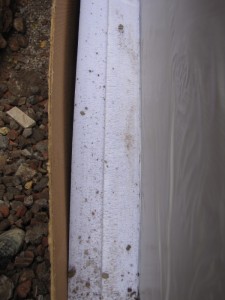
The insulation goes on against the tanking. We are using Kingspan Styrozone H350R. We cannot use any mechanical fixings to attach this insulation to the wall (as it will compromise the waterproofing). I speak to Kingspan to see what adhesives they recommend, but they advised that no grab adhesives of any kind (water- or chemical-based) should be used. We therefore opted for an additional ‘sacrificial’ low-cost fibre board to hold the insulation temporarily in place and to protect the insulation during backfilling. The weight of the backfilled stone and earth, once compacted, will hold the insulation firmly in place. The photo (above right) shows a plan view of the insulation against the tanking as the hardcore backfill was going in – absolutely no air gaps between the wall and the insulation.
week 11: the superstructure emerges
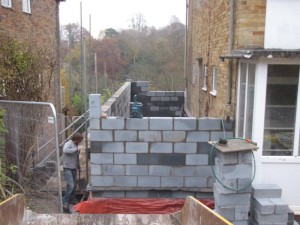
It’s been a long time coming, but we are finally out of the ground with the new extension. The floor slab had cured sufficiently over the weekend, so first thing on Monday the shuttering was removed. The guys wasted no time in getting on with the retaining wall structure. We are using dense concrete hollow blocks with reinforcing rods. The hollows are then filled with a strong concrete mix. The retaining wall is approximately 2 metres high and the side (boundary) wall ‘steps’ to suit the slope of the land (see photo below taken earlier in the week). Above retaining level, the blocks change to aerated type using Celcon H+H Hi-Strength blocks. Building above the retaining wall is not scheduled until next week, but, even with pretty grotty weather, the aerated blocks go up almost to storey height.
The Celcon blocks used above ground level have a much better (lower) thermal conductivity than the dense concrete blocks used for the retaining wall. With the application of 120mm of external insulation, the walls will achieve an excellent U-Value of 0.14 W.m²K. By comparison, the retaining wall element achieves a slightly poorer 0.17 W.m²K, which is still very good. This would be higher again (0.19) if this wall type continued above ground – the retained earth, in effect, is another layer that helps to minimise the heat loss. By comparison, the current Building Regulations require the U-value for new extension walls to be no higher than 0.28 W.m²K.

