week 10: concrete slab poured

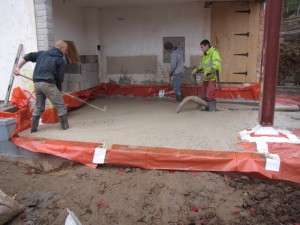
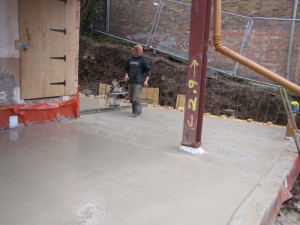
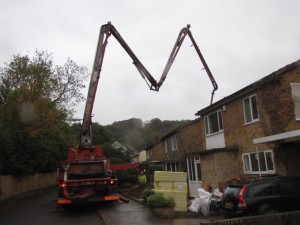
With all the prep work complete, we are ready for the concrete pour. The pump lorry arrived first thing this morning followed shortly after by the mixer lorry.

The pour goes well, but during the levelling out we learn that we are a bit short. The correct amount was ordered (7m³). We find out that we should have ordered and additional quantity of 0.25m³ as there is a residual amount of concrete that cannot be pumped out of the lorry. The difference is made up on site. Finally, the concrete is smoothed over with a power float and left to cure over the weekend. A small celebration as we’re out of the ground from here on (ignoring the back fill works to the retaining wall).

week 9 and 10: preparation for the slab


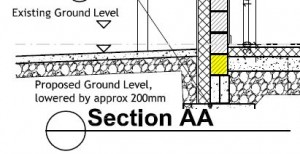
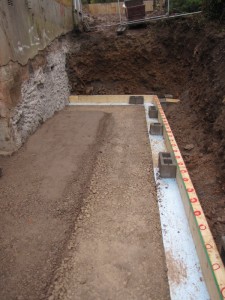
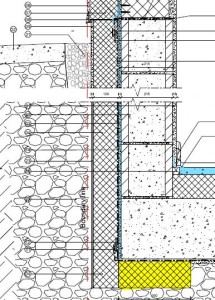
With the excavation and underpinning complete, focus turns to the lower ground floor slab.The graded hardcore sub-base is spread out and compacted. Along the edge of the retaining wall, we have introduced a 300 wide x 100mm deep layer of insulation to reduce the thermal bridge at the edge of the slab. I thought it would be quite a struggle to install this detail (shown in yellow on the drawing), as the top of the hardcore has to be compacted perfectly level with the top of the insulant. But the guys manage a precision installation. Given this insulation layer is beneath a structural element, we have had to make sure that we use a product with good compression strength. We could not get our specified insulation in time, so we substitute for Styrofoam Floormate 350 which has an almost identical thermal and compression performance.
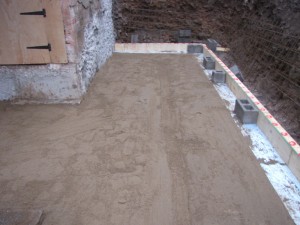
A layer of sand blinding is spread out over the compacted hardcore to protect the damp proof membrane from puncture damage. We live in a medium-risk Radon area and so our membrane needs to be both moisture and gas proof. The red (depicting gas resistant) membrane goes in and a lot of care is taken ensuring that all the joints are lapped and taped sufficiently and that penetrations for the column and soil pipes are sealed around and to the membrane.

Finally, the reinforcement bars and mesh are installed in the vicinity of the retaining wall (note the protective ends installed on the mesh to reduce the risk of damage to the DPM) and the form-work completed ready for the concrete pour.

week 8: excavation and underpinning

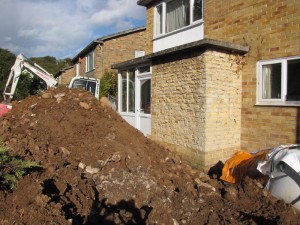
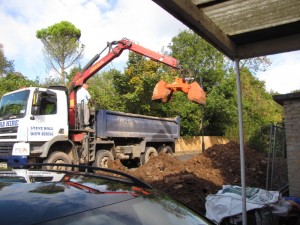
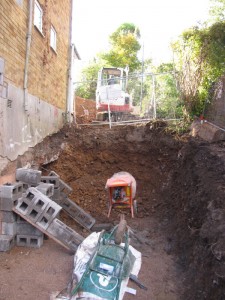
The extension area on the lower ground floor has been excavated this week. It has taken just a week to shift 50 tonnes. The photo above shows the excavated area, which is where the new kitchen (part) and stairs will be accommodated.The new pantry will also be in this area – so plenty of thermal mass to regulate the temperature, which is perfect for food storage, and perhaps a bit of home brewing!

On the left of the photo, the new retaining wall blocks are being used temporarily to prop the shuttering for the first section of underpinning along the side wall. The underpinning will continue next week.

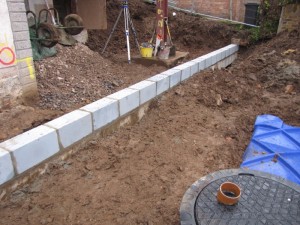
The first block course has been laid on top of the ground bearing lintels. This course (highlighted in yellow in the section detail) will act as a shutter for the concrete slab pour. So, just a little more excavation to go and then the hardcore sub base can be laid in preparation for the lower ground floor slab.

week 7: rainwater tank goes in

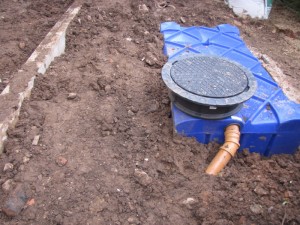
A ‘blue moon’ opportunity whilst we have the, one and only, chance to ever get a digger into this part of the site, so we invest in, well, a blue water tank. This will connect the rainwater discharge from the rear roof slope and the rear extension roof. It is a 1500 litre tank, about the size of 8 standard water butts – not huge, but as big as we can get into the space without major civil works and it will serve only to water the garden. The tank is a shallow dig unit from RainWater Harvesting. The photo shows the tank part-connected – with just the overflow connected to the underground surface water drain.

week 7: giant lintels arrive

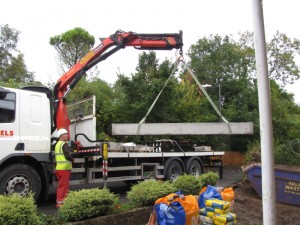
The ground bearing lintels arrive: these will sit on top of the concrete pipes. They are huge: 290 x 100mm and 3.5m long, and incredibly heavy. Having perhaps sounded a little smug about the amount of concrete saved (in the previous post), I don’t think we will have saved much financially. These lintels are specials and have cost a small fortune!

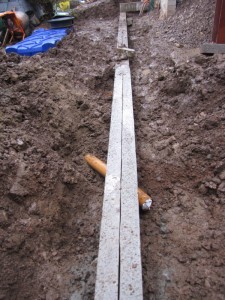
The photo above shows the lintels in place. Two 100mm wide lintels are placed side-by-side, allowing the 200mm aerated concrete blocks to be built straight off the lintels. Hopefully we’ll be out of the ground soon.

week 7: foundings cast

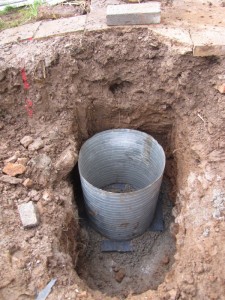
We bury a scandalous amount of concrete in this country to prop up our buildings. I was keen to ensure that our structural engineer came up with a ‘creative solution’ to mitigate the amount needed, as we have had to go so deep to ensure we are below the level of the sewer. The concrete ‘pipes’ seems a good solution and getting hold of the steel ducts was a good find by the contractor. The picture above shows one of the four ducts for the founding ‘moulds’ placed in-situ ready for the concrete pour. In total, we need 2.5m³ of concrete as opposed to 8.75m³ with a traditional deep trench fill, a saving of 70% of grey stuff.