fabric performance – thermography

front LHS2 IR

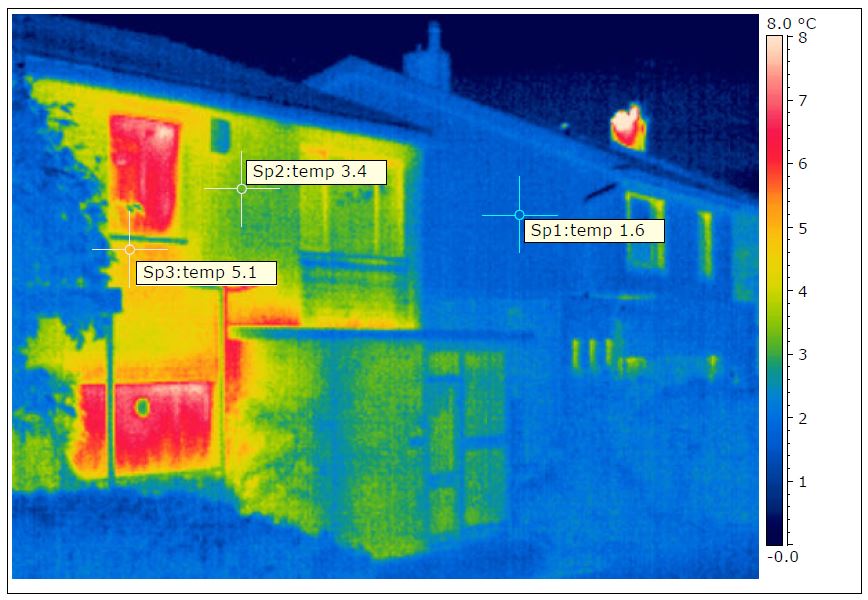
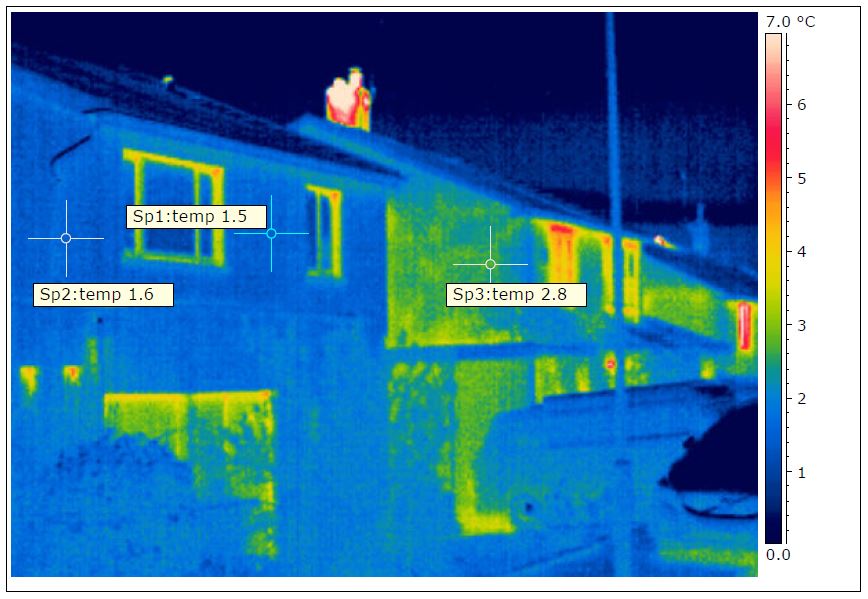
The fist thermal images of the finished house were taken very early in the morning at the end of January. The results are very encouraging and show, as expected, that the insulation measures are working well, and that we have significantly reduced the amount of thermal bridges, particularly for the concrete gutters. The image above shows our house in the foreground with our neighbours’ houses beyond. The temperatures of the outside of our house are the same as unheated surroundings: vehicles, plants, etc. Compared to neighbouring houses, not only are the surfaces cooler (less heat escaping), but the temperatures are more uniform, showing good insulation continuity.

front LHS IR

The image above was taken further up the street, with our house now in the background. Our neighbour’s house in the foreground has the same thermal properties as our house did when we moved in, i.e. no cavity wall insulation. The difference is quite striking between our properties.

rear IR

From the rear, the house appears to be performing well too. The wall insulation is continuous and the thermal bridging relating to the concrete gutters (as shown in an earlier post) have been eliminated. There is a small amount of thermal bridging around the new window frames, but this is expected given that we opted for less expensive windows that do not have thermal breaks in the core of the frame.

rear neighbour IR

By contrast, our neighbour’s house is losing more heat, as shown in the image above. The thermal bridges from the concrete gutters and the single leaf masonry panel beneath the windows are quite evident.

wemico trays

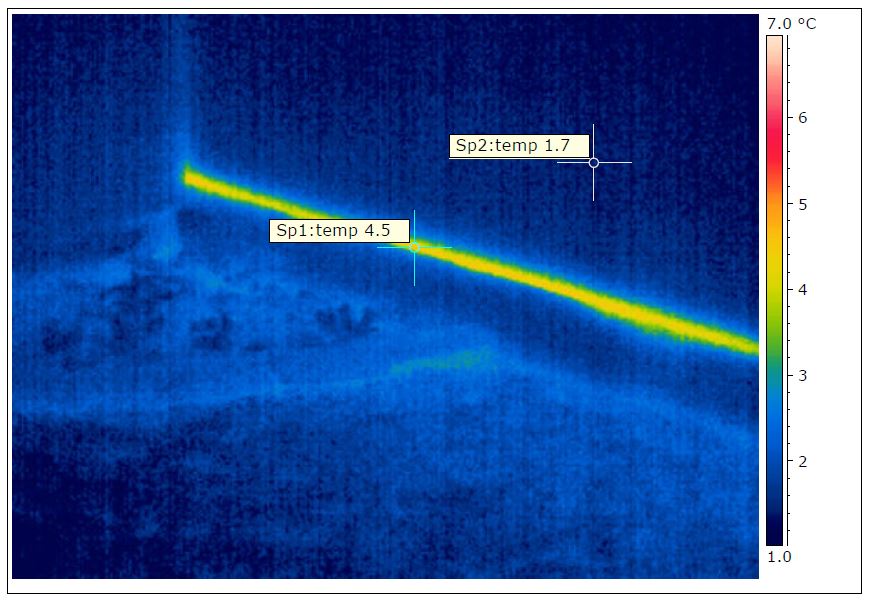
We have introduced some bridges that we hadn’t thought about. Ironically, it is from the steel trays that carry the external wall insulation panels that are conducting heat. These are fixed to the masonry (warm side of the insulation) and some of this heat is clearly coming through. Perhaps plastic trays would have been better. In the grand scheme of things, this is relatively minor stuff.

reader’s request: more information on window fitting

I received a request for further information about how we fitted the windows to minimise thermal bridges. So here goes:

Window fitting stage 1

Each window unit has been fitted into an external structural timber frame, or sub-frame. The sub-frame is standard C16 grade timber and doesn’t need to be tanalised as it shouldn’t become wet within the insulation layer. The size of the timbers in this case were chosen to be 60mm deep for reasons outlined below. The first timber fitted is the sill piece to act as a ledger to support the window during positioning and alignment. The window unit is fixed back to the masonry using nail plates, but most of the weight of the window is on this ledger, so it must be a good fix. The other three sides of the sub-frame can then be fitted snugly around the window:

Window fitting stage 2 Window fitting stage 3

In our case, the surrounding masonry was treated with a slurry (sand/cement) render base coat, to act as the primary air barrier. So, once the windows were fitted and the render had dried, we could deal with the airtightness sealing – sealing the window to the sub-frame and the sub-frame to the wall, using proprietary air sealing tapes. In hindsight we made an minor error here. We should have taped the sub-frame to the masonry and then rendered over the top of the render layer tape (black tape).

We chose 60mm deep sub-frame because we were using 2 x 60mm layers of insulation. The thickness of the window frame is 78mm. So the idea was to have the first layer of insulation run into the side of the sub-frame and the second layer would fly across the face of the window frame by around 40mm as shown:

window detail

Again, with hindsight, we should have used sightly deeper timber for the sub-frame (say 70-75mm) to account for the 10-15mm adhesive layer for the first insulation sheet. This would have saved a bit of  ‘shaving’ on the second layer, which, of course is a slight thermal compromise too.

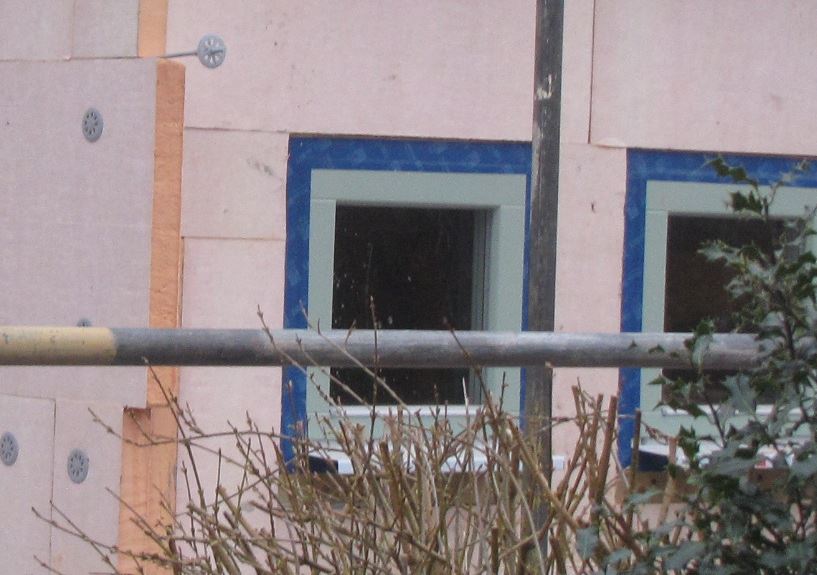
The picture below shows the first layer of insulation running into the sub-frame.

window insulation

I believe the principle we have adopted is one of the best ways of minimising thermal bridges between the window frame and the surrounding masonry. We could have gone one step further and used a structural insulation material for the sub-frame, such as CompaCFoam, manufactured in Austria, but I was put off a bit by the costs (around 10x cost of timber), and, as we haven’t gone for ultra-high spec, thermal break window frames (£££), I didn’t think it was a worthwhile investment in this case (investment greater than energy saving). But, it’s worth a look.

Hope this helps and would be interested to hear if others have adopted a different approach.

weeks 28 and 29: more progress on external wall insulation

Fron of house EWI

The external insulation progressed well (until we ran out) and the house is beginning to be transformed. I’m sure we’re the talk of the neighbourhood – ‘what on earth are they doing?’ Weather permitting, the rendering will start next week. and it will begin to look a bit more normal.

North Front EWI

Another week, or so and the insulation should be complete on the external – a fair bit to do on internal insulation works – particularly suspended floor and loft.

week 27: external wall insulation

External wall insulation

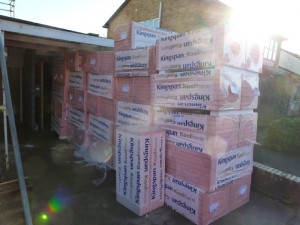
Having been delivered some 6 weeks ago (see earlier post), the external wall insulation is now starting to go on. Starting with the extension late last week, but in earnest this week to (almost) complete some 80m² of wall area. The main (original) house is left to do, it should be done in approximately 3 weeks time if we manage to keep this pace up.

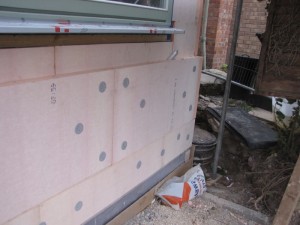
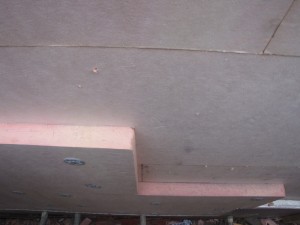
We are using two layers of Kingspan K5 insulation boards. These are 60mm thick giving a total of 120mm external insulation. The first board gets bonded to the wall using Knauf Marmorit SM700. After this has gone off, the second insulation layer is applied with the boards offset in order to cover any air gaps between boards in the first layer. This second layer is mechanically fixed using thermally-broken fixings through both boards and into the masonry.

EWI - new kitchen  EWI - side wall

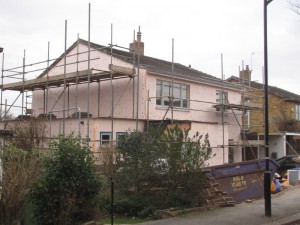
The wall insulation will eventually be finished with a mix of through-colour render and splayed chestnut timber cladding. In the meantime the house will look like a marshmallow!