weeks 35 and 36: flooring

LGF flooring

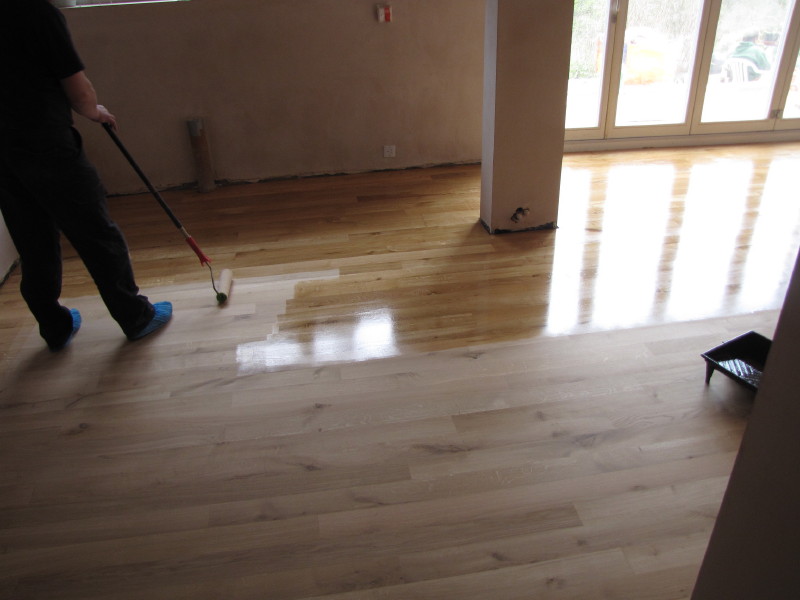
The oak floor has now been installed on the lower ground floor. We use a local sanding specialist to both sand and oil the floor. At time of writing this post, the floor has only one coat of oil, but it looks really good. In the past I have hired floor sanders and got on with it myself, and was a bit sceptical on the advice that it should be done by a ‘professional’, but I was wrong. Knowing that the sanding company was doing the lower ground floor, I thought I would get them to do the hall on the ground floor too – a mixture of old flooring and new. The results were were astounding!

hall floor installation Hall sanding

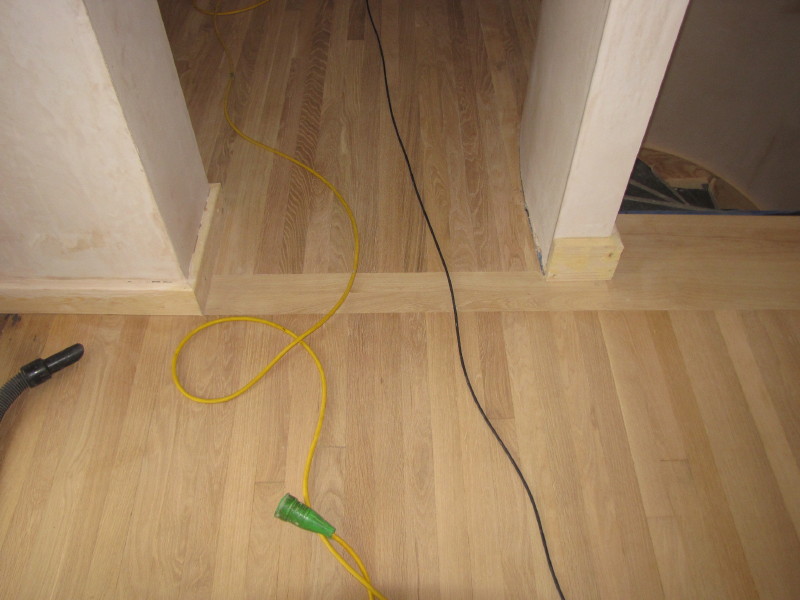
First the hall floor was installed by the carpenters. We had the existing oak floor (made in early 1960s) re-profiled so that the extension in the hall matched. We were never sure how the old and new were going to blend in – until it was sanded…

old and new floor

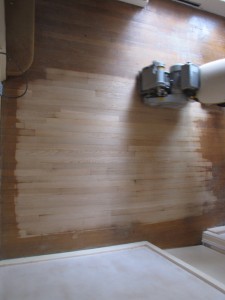
The top half of the photo is the new floor, the bottom part of the photo is the existing floor – I thought it would look different, a little darker, but it is pretty much identical. It needs to be oiled next – that will be the acid test, I guess. I think I might get these guys to do the other floor boards in the house!


weeks 24 and 25: boarding out and screeding

LGF Dry lining  LGF dry lining

LGF dry lining

The internals are now starting to transform the space from being a building site. The extension area at both the lower ground level and ground level is now being boarded out. The ceiling boarding is magnesium silicate by Multi-Pro. This is a moisture resistant board and has a greater breath-ability than plasterboard. The external walls will be plastered, but we have used 62.5mm Kingspan K17 insulated plasterboard on the internal walls (external prior to extension) that have been underpinned.

The floor insulation has also been laid. Again, we have used Kingspan K3 floorboard. This is 100mm thick, and achieves a U-value of 0.13 W/m².K. The insulation is laid directly onto the sub slab and covered with polythene ready for the screed. The screed arrived today on a mixer lorry. We are using a liquid flow screed, which allows a thinner layer (30mm) compared to traditional sand/cement screed (65mm). I’ve not used this type before, so will be interested to see how successful it is.

Tarma pre-mix lorry doing its stuff screed flowing in