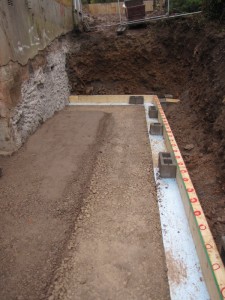
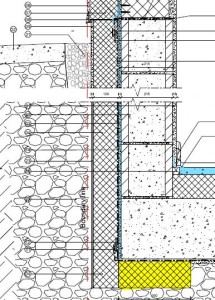
With the excavation and underpinning complete, focus turns to the lower ground floor slab.The graded hardcore sub-base is spread out and compacted. Along the edge of the retaining wall, we have introduced a 300 wide x 100mm deep layer of insulation to reduce the thermal bridge at the edge of the slab. I thought it would be quite a struggle to install this detail (shown in yellow on the drawing), as the top of the hardcore has to be compacted perfectly level with the top of the insulant. But the guys manage a precision installation. Given this insulation layer is beneath a structural element, we have had to make sure that we use a product with good compression strength. We could not get our specified insulation in time, so we substitute for Styrofoam Floormate 350 which has an almost identical thermal and compression performance.
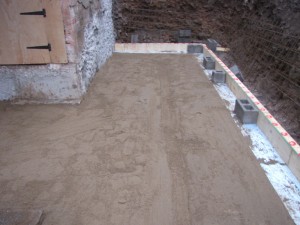
A layer of sand blinding is spread out over the compacted hardcore to protect the damp proof membrane from puncture damage. We live in a medium-risk Radon area and so our membrane needs to be both moisture and gas proof. The red (depicting gas resistant) membrane goes in and a lot of care is taken ensuring that all the joints are lapped and taped sufficiently and that penetrations for the column and soil pipes are sealed around and to the membrane.
Finally, the reinforcement bars and mesh are installed in the vicinity of the retaining wall (note the protective ends installed on the mesh to reduce the risk of damage to the DPM) and the form-work completed ready for the concrete pour.


