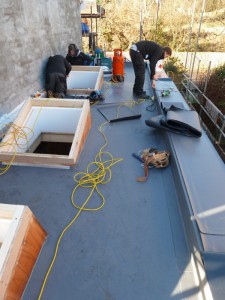
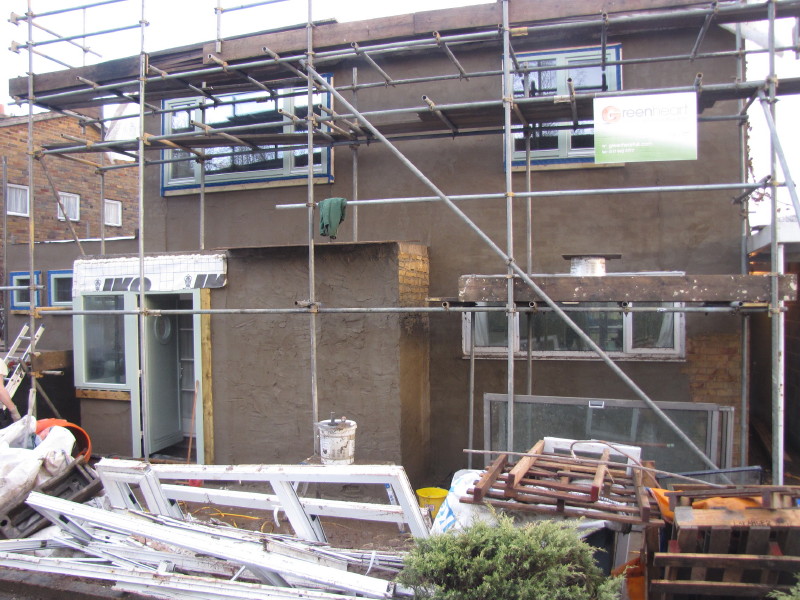
week 26: first air leakage test

Air leakage test No.1Photo: Tom Morris

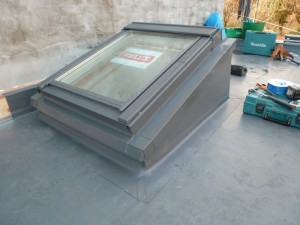
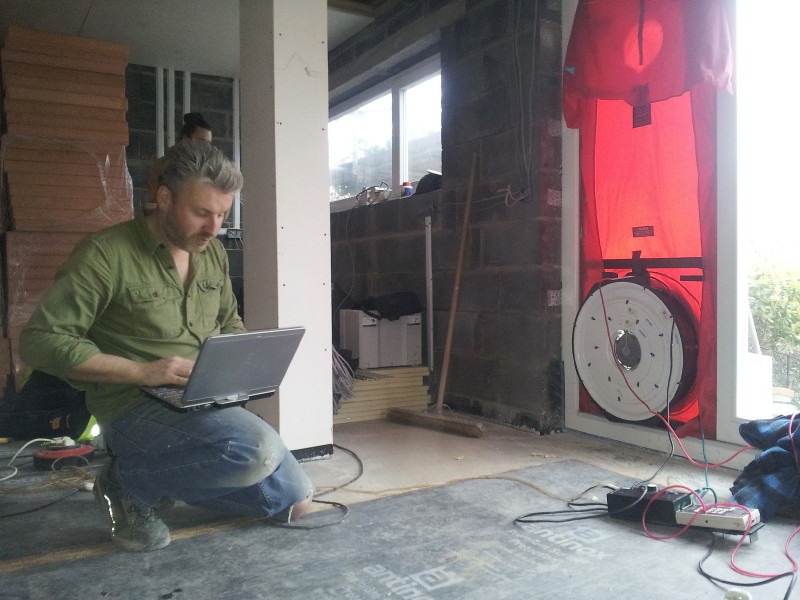
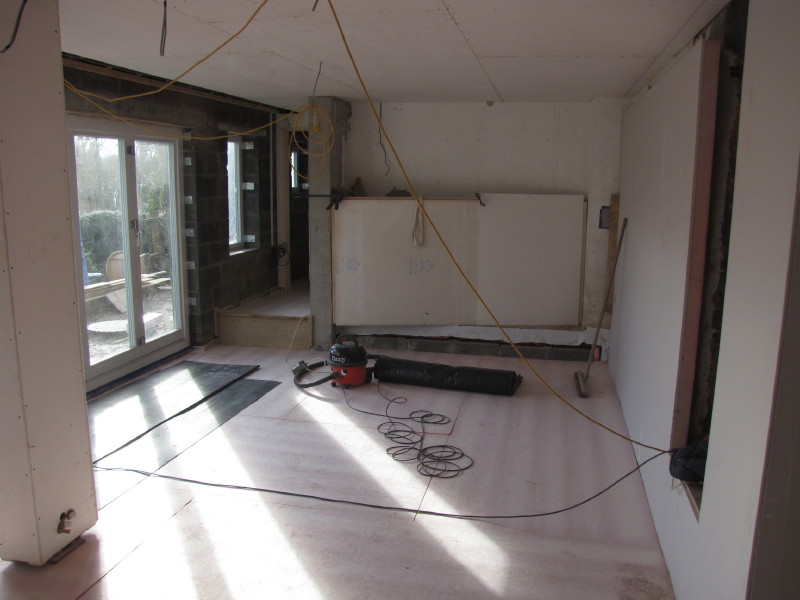
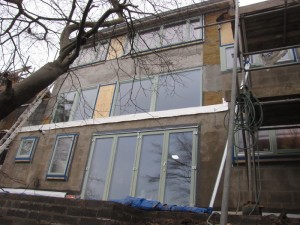
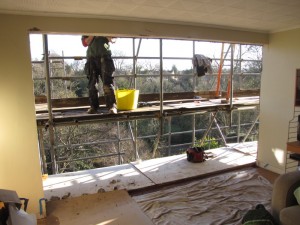
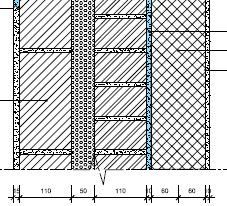
I carried out the first air leakage pre-test this week. Our target for the extension area is 1.5 mĀ³.h/mĀ². The primary air barrier on this project is on the outside of the masonry, i.e. just behind the external wall insulation, which will be applied shortly. So, we decide to do an initial test to see if there are underlying issues prior to covering everything up.

cable grommet flue grommet

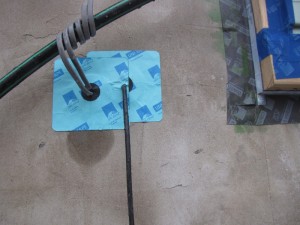
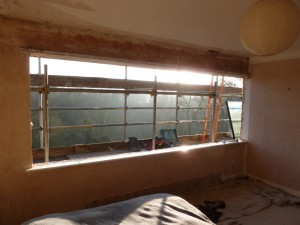
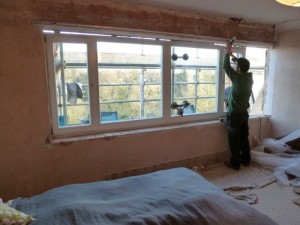
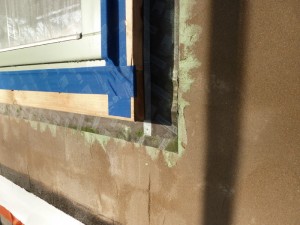
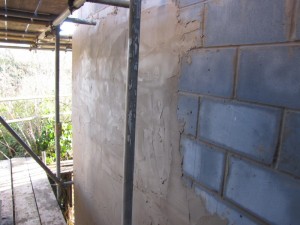
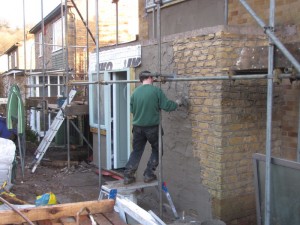
The base render coat acts as the main air barrier, so anything coming through this must be sealed. Cables and the boiler flue are provided with grommets, providing a good seal around these penetrations. The windows have been sealed with tape (see earlier post) around the outside, but the internal sealing hasn’t been done yet.

So to the result… we get a pretty good 2.7 mĀ³.h/mĀ². Leakage detection identifies a significant amount of leakage around the internal openings to the existing house, which were temporarily sealed, so this needs improvement prior to the next test. There is a small amount of leakage around the windows, due mostly to the incompleteness of the inner seal, and a little through the drains (not filled with water yet). Also, our secondary air barrier, internal plaster, hasn’t been done yet. But all in all this isn’t bad, and believe we’re on track for meeting our target of 1.5 mĀ³.h/mĀ².

weeks 24 and 25: boarding out and screeding

LGF Dry liningĀ  LGF dry lining

LGF dry lining

The internals are now starting to transform the space from being a building site. The extension area at both the lower ground level and ground level is now being boarded out. The ceiling boarding is magnesium silicate by Multi-Pro. This is a moisture resistant board and has a greater breath-ability than plasterboard. The external walls will be plastered, but we have used 62.5mm Kingspan K17 insulated plasterboard on the internal walls (external prior to extension) that have been underpinned.

The floor insulation has also been laid. Again, we have used Kingspan K3 floorboard. This is 100mm thick, and achieves a U-value of 0.13 W/mĀ².K. The insulation is laid directly onto the sub slab and covered with polythene ready for the screed. The screed arrived today on a mixer lorry. We are using a liquid flow screed, which allows a thinner layer (30mm) compared to traditional sand/cement screed (65mm). I’ve not used this type before, so will be interested to see how successful it is.

Tarma pre-mix lorry doing its stuff screed flowing in

week 23: a sealed envelope

bi-folding doors installed

The last of the doors and windows are fitted to the extension area. The last of these units to be fitted was the bi-folding doors on the lower ground floor. With some of the scaffolding out of the way temporarily (to allow the balcony to be built), we are able to see what the house will look like.

More importantly, we are now able to start proper drying-out. A de-humidifier and a heater are now set-up and the space is now heated!

week 21: setting a new standard for flat roofs?

In my professional capacity, I do a lot of roof surveys, particularly roof failures on flat roofs. But, rarely have I actually specified one. So, I was naturally concerned that the flat roof design should be a good performer and wanted a good quality polymer waterproof layer (not the usual asphalt). Our contractor recommended Poole Single Ply Roofing Systems who use and installĀ  Cefil UK membranes. Having seen a small sample and had a talk with the installers, I decide to go along with their enthusiastic recommendation.

Roof membrane appliedĀ  velux roof window

Installed on top of 150mm Kingspan TR26 insulation, the grey Cefil membrane is installed in a true craftsmanship style. It takes a little longer to install than I expected it would, but realise much of this additional time is due to the attention to detail around the Velux window up-stands and over the parapet. The final proof will be when the roof is complete, but if all flat roofs looked as good as this, I know that my defect survey bookings would be down! As the owner of this new roof, I have to say that this is a more re-assuring scenario.

This roof membrane will continue across our rear extension/balcony area and will replace the existing garage roof.

week 18: new window installation begins

Living room window removedĀ  Bedroom window removed

At last, the new triple-glazed windows are being fitted. The old windows are removed, temporarily exposing the house to the elements. A timber frame surround is constructed around the structural opening as we are moving the new windows forward of the existing elevation. This is to allow them to be installed within the external insulation layer, thereby reducing thermal bridges.

Bedroom window fittingĀ  window detail

The windows are fixed into the new surrounds and then taped to form the air seal using Tescon tape. The timber surround is taped to the masonry wall using Contega EXO tape and Orcon F sealant. However, because a lot of this work has happened in between wet and cold weather, adhesion has not been optimum. We have therefore taken the additional precaution of applying a second render base coat on top of the Contega tape.

week 17 and 18: extension roof progresses

vapour barrier being laid

The vapour control layer to the new extension roof is now laid. The roof will be a warm roof construction, so the insulation will sit on top of the vapour control, followed by the final waterproof membrane. Before that, the roof light kerbs are cut in. The studio space below the roof will need very good natural daylight and we can’t fit windows along the long (party) wall. So, we are fitting three large roof lights instead.

rooflight kerb

The kerbs are flat pack units from Velux. Whilst they are fine for accommodating the Velux window units, they are not as well insulated as I would have expected. We will need to review the abutment of the kerb with roof insulation to see how we can add/improve the performance.

week 17 and 18: base render coat

Extension wall slurry coatĀ  Existing wall slurry coat

The base render, or slurry coat to the existing walls and extension walls has now commenced. As well as providing a smooth substrate for the external wall insulation, this render coat also serves as our primary air barrier, highighted in blue in the section below.

wall section

Working between sub-zero temperatures (before Christmas) and the rain, the rendering is still ongoing, but having done the front of the property, our house is starting to take on a different look…

house metamorphosing

week 15: breakthrough preparations

Ā 

The structural steel for the breakthrough to the extension from the existing hall was put in this week. The opening will be 2m wide, enough for access to the stairs down to the lower ground floor and to get to the studio on the ground floor.

With the cold weather now setting in, we decide that it is best to leave the masonry in place beneath the steel. We will need to remove at least the outer leaf shortly in order to close off the cavity prior to injecting the cavity wall insulation.